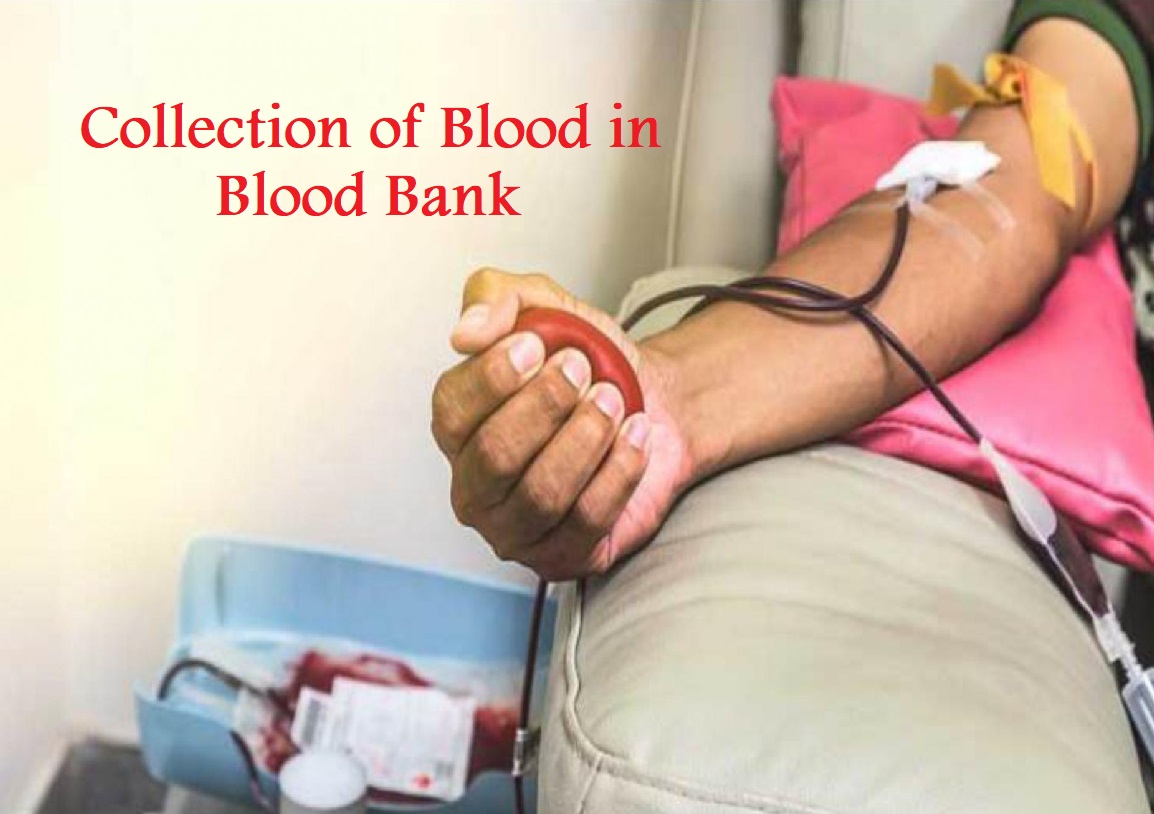
Collection of Blood in Blood Bank
Blood for transfusion and accompanying samples is obtained from prominent veins on the donor’s arm, usually in the area of the antecubital fossa. Iodophor compounds or other sterilizing compounds are used to sterilize the venipuncture site prior to blood collection.
Required Materials :
- Tourniquet.
- Sterile gauze.
- Scrub solution: 0.7% aqueous solution of iodophor compound (PVP-iodine or polymer-iodine complex); available in prepackaged single- use form.
- “Prep” solution: 10% PVP-iodine; available in prepackaged single-use form.
- Sterile collection bag containing anticoagulant, with integrally attached tubing and needle.
- Metal clips and hand sealers.
- Balance system to monitor volume of blood drawn.
- Sterile gauze and clean instruments (scissors, hemostats, forceps).
- Test tubes for sample collection.
- Device for stripping blood in tubing.
- Dielectric sealer (optional).
Blood Collection Procedure
- Apply tourniquet or blood pressure cuff; identify venipuncture site and release tourniquet/cuff.
- Scrub area at least 4 cm (1.5 inches) in all directions from the intended site of venipuncture (ie, 8 cm or 3 inches in diameter) for 30 seconds with 0.7% aqueous solution of iodophor compound. Excess foam may be removed, but the arm need not be dry before the next step.
- Starting at the intended site of venipuncture and moving outward in a concentric spiral, apply “prep” solution; let stand for 30 seconds.
- Cover the area with dry, sterile gauze until the time of venipuncture. After the skin has been prepared, it must not be touched again. Do not repalpate the vein at the intended venipuncture site.
- Reapply the tourniquet. Perform the venipuncture. Once the bevel has penetrated the skin, palpation of the skin above the needle stem may be performed with a gloved finger, provided the needle is not touched.
- If the needle is withdrawn and venipuncture is attempted again, preparation of the site must be repeated, starting at step 2.
- Inspect bag for any defects and discoloration. Apply pressure to check for leaks. The anticoagulant and additive solutions should be inspected for appropriate volume, color, and particulate contaminants.
- Position bag below the level of the donor’s arm.
- If balance system is used, be sure counterbalance is level and adjusted for the amount of blood to be drawn. Unless metal clips and a hand sealer are used, make a very loose overhand knot in tubing. Hang the bag and route tubing through the pinch clamp. A hemostat should be applied to the tubing before the needle is uncapped to prevent air from entering the line.
- If balance system is not used, be sure to monitor the volume of blood drawn.
- Reapply tourniquet or inflate blood pressure cuff. Have donor open and close hand until previously selected vein is again prominent.
- Uncover sterile needle and do venipuncture immediately. A clean, skillful venipuncture is essential for collection of a full, clot-free unit. Tape the tubing to the donor’s arm to hold needle in place and cover site with sterile gauze.
- Open the temporary closure between the interior of the bag and the tubing.
- Have donor open and close hand slowly every 10-12 seconds during collection.
- Keep the donor under observation throughout the donation process. The donor should never be left unattended during or immediately after donation.
- Mix the blood and anticoagulant gently and periodically (approximately every 45 seconds) during collection. Mixing may be done by hand or by placing bag on a mechanical agitator.
- Be sure blood flow remains fairly brisk, so that coagulation activity is not triggered. If there is continuous, adequate blood flow and constant agitation, rigid time limits are not necessary. However, units requiring more than 15 minutes to draw may not be suitable for preparation of platelets, fresh frozen plasma (FFP), or cryoprecipitate. The time required for collection can be monitored by indicating the time of phlebotomy or the maximal allowable time (start time plus 15 minutes) on the bag label.
- Monitor volume of blood being drawn. If a balance is used, the device will interrupt blood flow after the proper amount has been collected. One mL of blood weighs at least 1.053 g, indicated by the minimum allowable specific gravity for donors. A convenient figure to use is 1.06 g/mL; a unit containing 405- 495 mL should weigh 429-525 g plus the weight of the container with its anticoagulant.
- Clamp tubing near venipuncture using a hemostat, metal clip, or other temporary clamp. Release blood pressure cuff/tourniquet to 20 mm Hg or less and fill the tube(s) for blood processing sample(s) by a method that prevents contamination of the contents of the bag. This can be done in several ways.
- If the blood collection bag contains an in-line needle, make an additional seal with a hemostat, metal clip, hand sealer, or a tight knot made from previously prepared loose knot just distal to the in-line needle. Open the connector by separating the needles. Insert the proximal needle into a processing test tube, remove the hemostat, allow the tube to fill and reclamp tubing. Donor needle is now ready for removal.
- If the blood collection bag contains an in-line processing tube, be certain that the processing tube, or pouch, is full when the collection is complete and the original clamp is placed near the donor needle. The entire assembly may now be removed from the donor.
- If a straight-tubing assembly set is used, the following procedure should be used. Place a hemostat on the tubing allowing about four segments between the hemostat and the needle. Pull tight the loose overhand knot made in step 9. Release the hemostat and strip a segment of the tubing free of blood between the knot and the needle (about 1 inch in length). Reapply the hemostat and cut the tubing in the stripped area between the knot and the hemostat. Fill the required tube(s) by releasing the hemostat and then reclamp the tubing with the hemostat. Since this system is open, biosafety level 2 precautions should be followed.
- Deflate cuff and remove tourniquet. Remove needle from arm, if not already removed. Apply pressure over gauze and have donor raise arm (elbow straight) and hold gauze firmly over phlebotomy site with the other hand.
- Discard needle assembly into biohazard container designed to prevent accidental injury to and contamination of personnel.
- Strip donor tubing as completely as possible into the bag, starting at seal. Work quickly, to prevent the blood from clotting in the tubing. Invert bag several times to mix thoroughly; then allow tubing to refill with anticoagulated blood from the bag. Repeat this procedure a second time.
- Seal the tubing attached to the collection bag into segments leaving a segment number clearly and completely readable. Attach a unit identification number to one segment to be stored as a retention segment. Knots, metal clips, or a dielectric sealer may be used to make segments suitable for compatibility testing. It must be possible to separate segments from the unit without breaking sterility of the bag. If a dielectric sealer is used, the knot or clip should be removed from the distal end of the tube after a double seal is made.
- Reinspect the container for defects.
- Recheck numbers on the container, processing tubes, donation record, and retention segment.
- Place blood at appropriate temperature. Unless platelets are to be removed, whole blood should be placed at 1-6 C immediately after collection. If platelets are to be harvested, blood should not be chilled, but should be stored in a manner intended to reach a temperature of 20°C-24° C until platelets are separated. Platelets must be separated within 8 hours after collection of the unit of whole blood.
Special Note :
For donors sensitive to iodine (tincture or PVP), another method (eg, Exidine scrub; available commercially) should be designated by the blood bank physician. Green soap is acceptable and widely used for iodine-sensitive donors.


